I didn’t start learning the concept of pi until about seventh grade. Sure, we learned about circles and the basics of diameter, radius, and circumference. But the concept of pi is one that’s usually much more complex and held off in teaching until later.
Oh, but there are such fun ways to teach pi to youngsters, and, as tomorrow is International Pi Day (aka 3.14 aka 3/14 aka March 14, get it?), why not jump in and teach pi?
Of course, there’s no fun in pi without some pie, right?
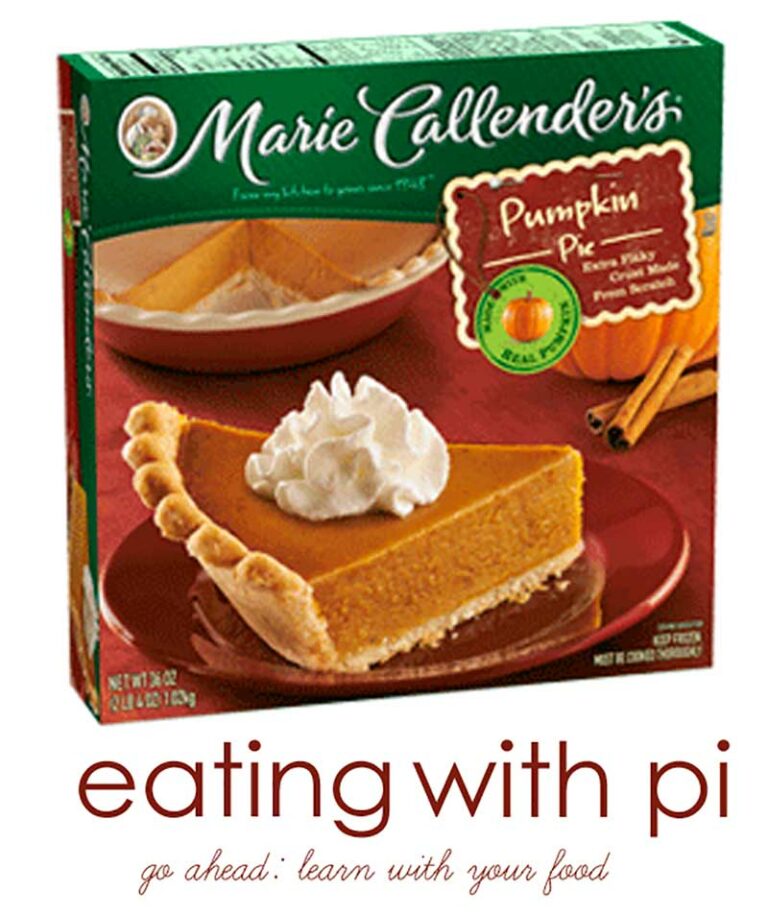
So, before we get started, you’ll need a pie. Now, you can start baking a pie (for this activity, I recommend one with a flat surface, like Home Ec 101′s Gluten-Free Pumpkin Pie). But, if you want to jump right in, run to the store and grab a Pumpkin Pie from the freezer section; we like Marie Callender’s pies. (Disclosure, I write for Marie Callender’s blog.)
Pi is commonly defined as a ratio of a circle’s circumference, which Wikipedia demonstrates in this video clip:
A longer, more detailed description goes on to explain that pi represents an irrational number, which means it can’t be described as a ratio of two numbers. It’s that number that you learned about in middle school that never, ever ends and never, ever repeats. Mathematicians have extended the decimal representation to over ten trillion digits. (Okay, look. I’m an elementary school teacher and a mom, not a mathematician. So I’ll lead you to the Wikipedia listing for the details so you can answer your kids’ questions.)
When teaching concepts like these to young kids, you’re hoping to get across the basics: in this case, vocabulary and a little bit of math.
Vocabulary
When talking about new concepts, the best way to introduce them to kids is to use them. For a quick geometry refresher:
- Circumference: the measurement of the distance around the circle
- Diameter: measurement of a straight line through the center of a circle from one side to the opposite
- Radius: measurement of a straight line from the center of a circle to the side of the circle
- Perimeter: the outside of a shape (what you are measuring when you measure the circumference)
Mathematically Speaking
Now that we’ve reviewed the terms we’d all forgotten after we graduated tenth grade, don’t be too worried about the math. Sure, you remember that pi=C/d and that d=2r, but in teaching young kids about a common circle, we’re just going to skip that information right now. Now it’s time to play with pie.
Learn with your pie
So, because we would never do a lesson with dessert without eating the dessert in the end, it’s important to remember that this lesson needs to be quick. No one, not your child or you, is going to want to wait too long for a pie to learn about pi.
Supplies
For these activities, you’ll need just a few items: your pie, a few pieces of string, yarn or thin rope, scissors strong enough to cut the rope, a knife (a pie knife works well), and a yardstick.
Circumference
Start by explaining that you’re going to learn about how to measure a circle. Use the rope and help your children wrap it around the outside of the pie, cutting the rope to make ends meet. Then lay out the rope in a line and measure on the yardstick. This length is the circumference, or perimeter measurement, of the pie. Take a minute and discuss whether it looks like the circle would measure so long. (Additional discussion topics: how else could we measure the circumference? What other items can we measure this way? Do you think their perimeters would be longer or shorter?)
Diameter
Before measuring the diameter, ask your kids to estimate how long they think it will be. Will it be longer or shorter than the circumference? How much longer or shorter? Using a knife, lightly show the kids the center of the pie and draw a light line across the pie to demonstrate the diameter.
Using the same rope, measure the diameter by laying above the pie and making a knot in the rope to demonstrate the length. Move the rope to the yardstick and measure. Discuss the measurement in relation to the circumference.
While folding the rope into thirds, explain to the kids that the circumference is a little tiny bit more than three times longer than the diameter. This relationship is called pi. (Keep it as simple as that. This concept is really hard for children, but the fact that you introduced the term is great for the future.)
Radius
The radius is half of the diameter, so ask your kids to use their ropes to show what they think the length of the radius will be. Use your knife to lightly draw a radial line on the pie and measure with your rope.
Enjoy your pie!
At this point, your kids are likely salivating, and, let’s face it, so are you. So dig in and enjoy your pie for Pi Day! As you’re cutting your slices, you can extend the lesson as you slice into half, quarters, eighths, and more.


